NIKE SB RELEASES FIRST-EVER ALL FEMALE SKATE FILM 'GIZMO'

2019-06-01_3005_desktopNET.png

Nike SB has released its first all-female skate video, entitled Gizmo Featuring some of the most bad ass skate boarders of today (including our homie, the awesome Josie Millard) . The new film remains a tribute to renowned skateboarder Elissa Steamer, nicknamed “Gizmo,” who has been embroiled within the lifestyle since the 1980s and is one of the first women to become a professional skater within the history of the sport.

Directed by Jason Hernandez, the film features an all-star cast including Lacey Baker, Leticia Bufoni, Sarah Meurle, Josie Millard, and Elissa Steamer herself and is filmed over the course of a year and following the skaters in all corners of the world from North America, China, Europe, and Australia.

One thing is for sure, this is one film that will have you reaching for a board whether you’re a seasoned skater or just starting out.

BASIC BIKE MAINTENANCE - WTF?

1479063733493.jpeg


So you’ve got yourself on the road & bought your first set of wheels. Good on you!

So what now?

I found that I learned alot about my bike & how to begin to look after it when I was practicing for my theory test as alot of this info is included in there, but before that on just a CBT it took me a while to learn the basics about my bike & how to maintain it. With the help of a few tips & hacks from workshop buddies I started to know my way around my bike & this has helped me out of many a sticky breakdown on road trips.  

Alot of people have been asking us about basic moto maintenance recently so we thought we'd do a quick run down of the basic stuff you can learn to keep to your wheels & before a ride out which you'll only need a basic set of tools & a bit of noggin to do! 

Its not the be all & end all in terms of moto maintenance but enough to get you started & hopefully get you on your way to not always having to rely on others to catch what might be a simple thing to sort yourself .... Enjoy!  


______________________


FIRST UP........

Firstly, before anything else, get on over to HAYNES & grab a workshop manual for your model of bike. These things are worth their weight in gold as they have every setting, tips & breakdowns of different bits of your bike. even just a good read in general to get to know whats located where & what bit does what..... usually the manual will also list the tools you'll need to do the job. 

Number two: Good quality tools do what they say on the tin. They are totally worth the money to invest in (just a basic set at first & then you'll find you collect a few more along the way when you come across jobs where you need specific things. Halfords do a pretty good starter set thats pretty good quite for the cash.

Finally if you dont feel 100% confident dont be afraid to ask someone for help! Two heads are always better than one when problem solving, even when you're experienced with bikes. Ive learned everything I know so far (and by the way I'm no expert) from trying to solve stuff with other people around our shop or helping out mates with their bikes.
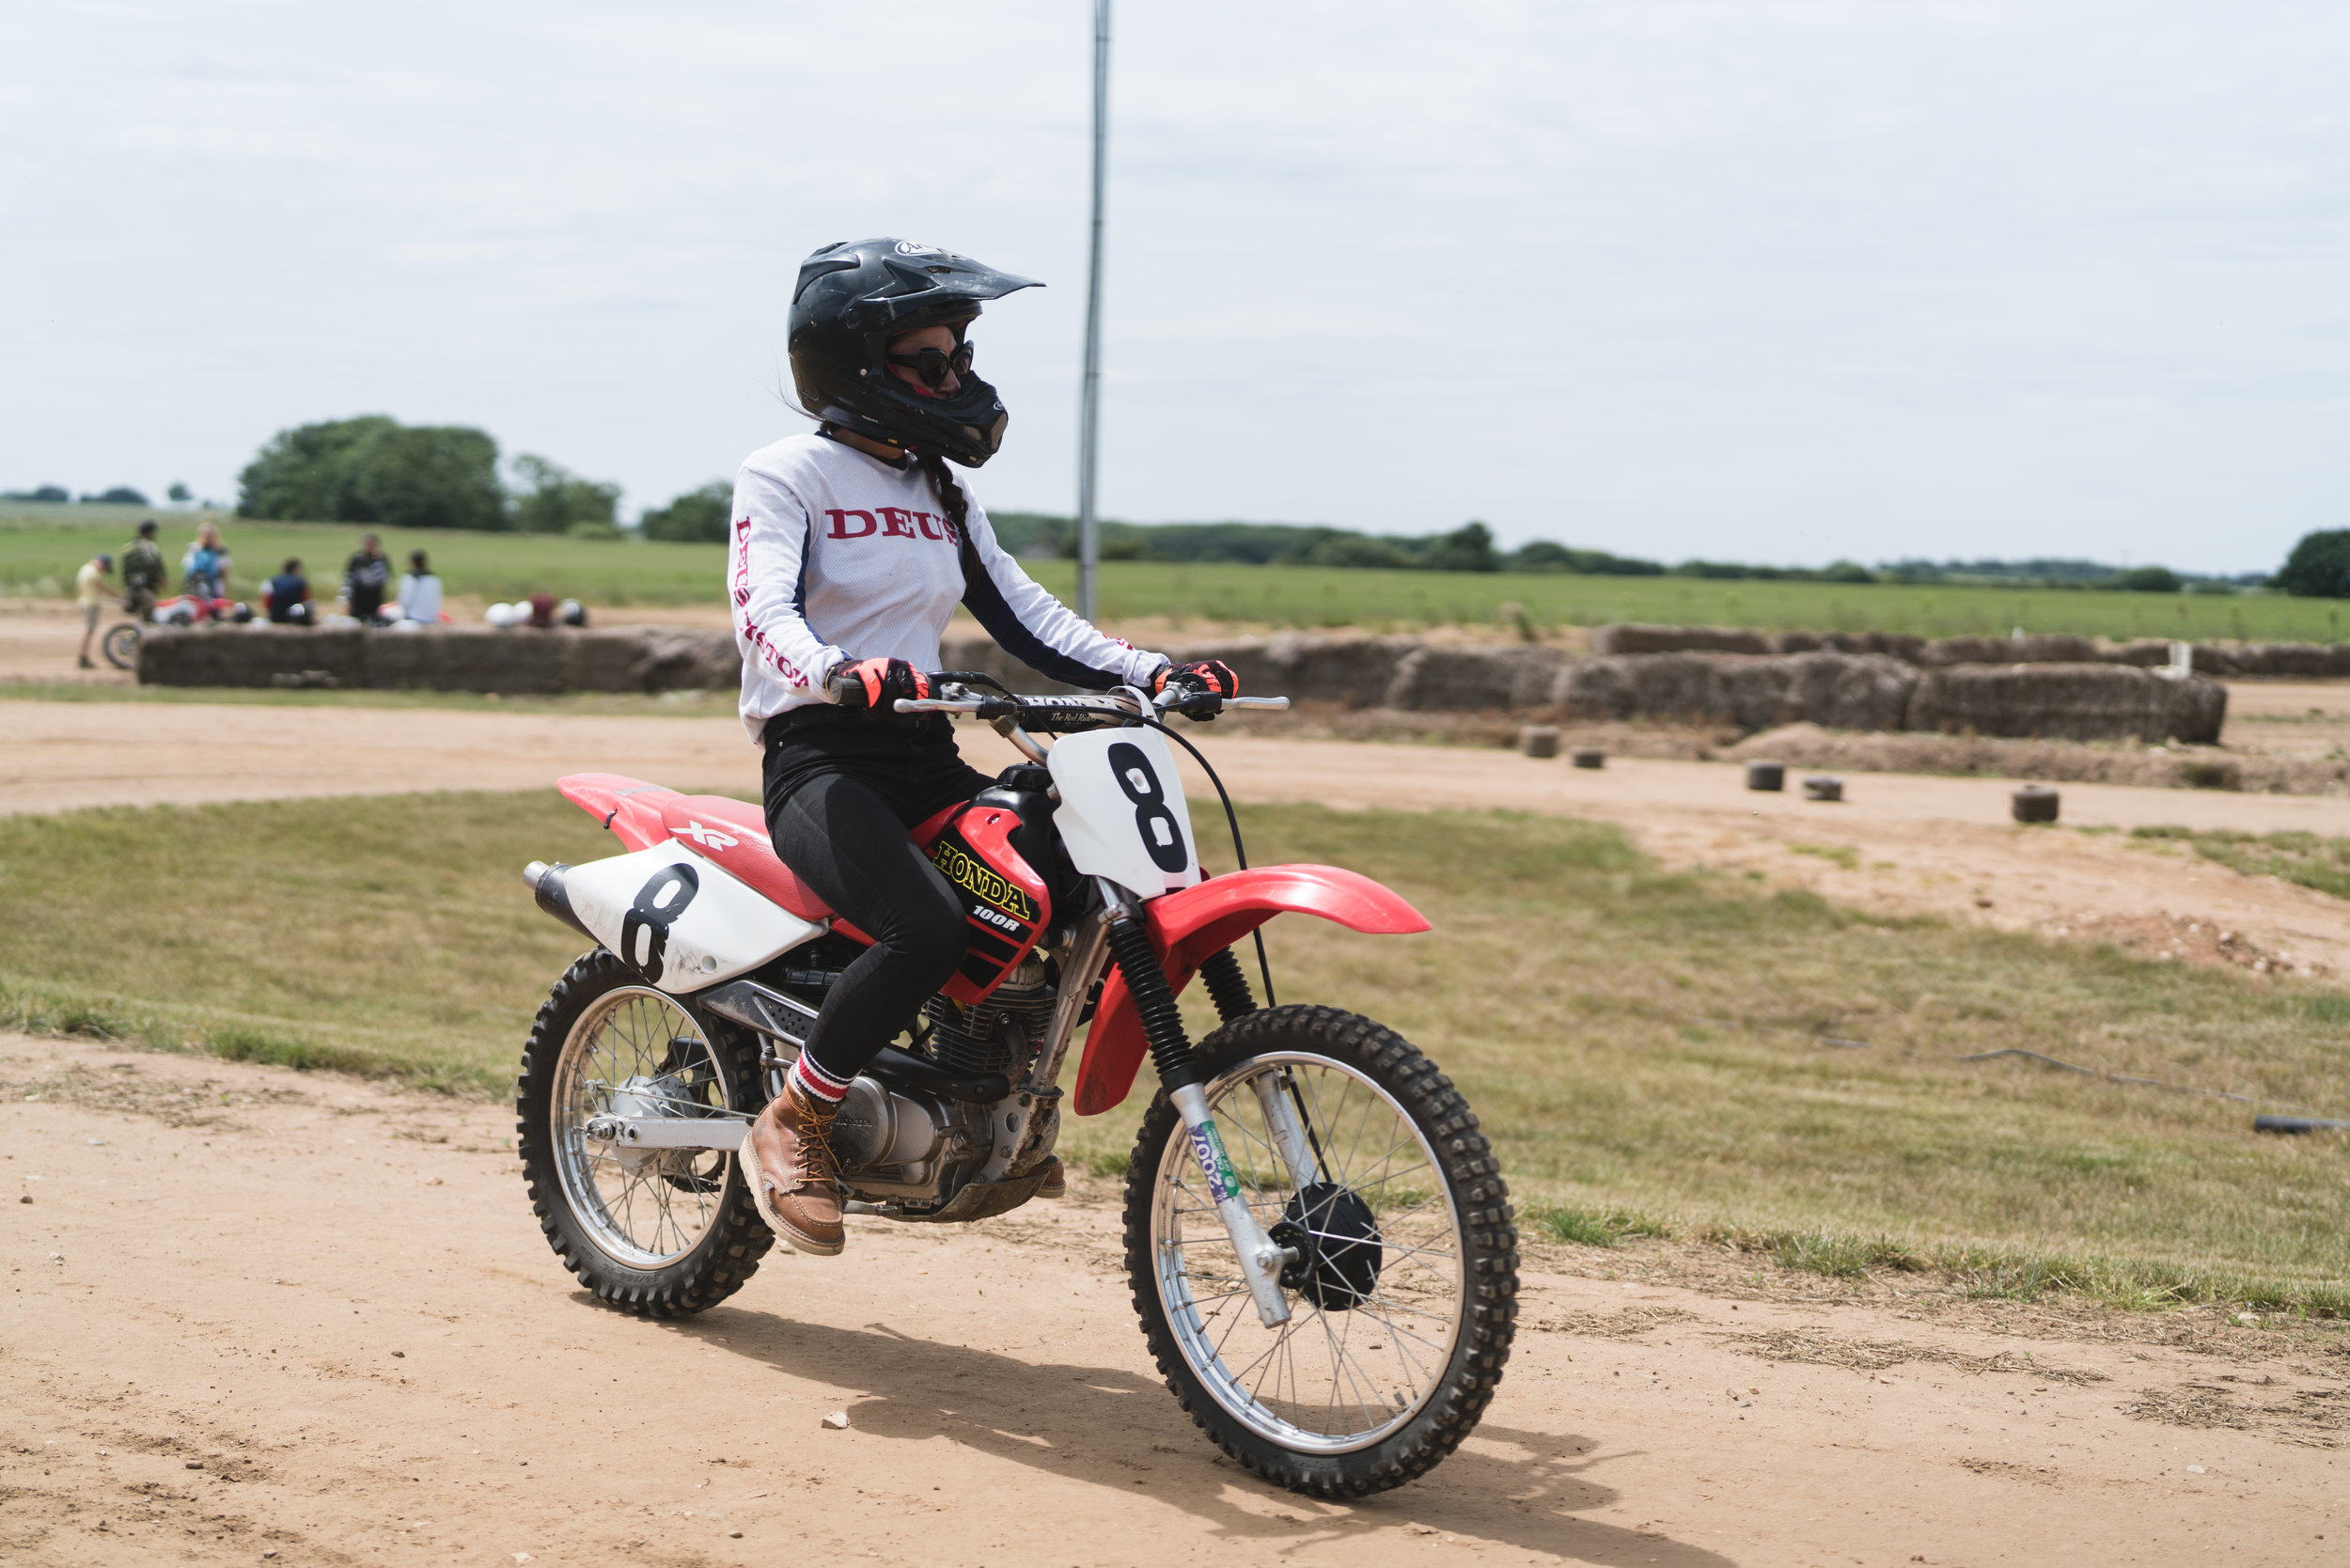
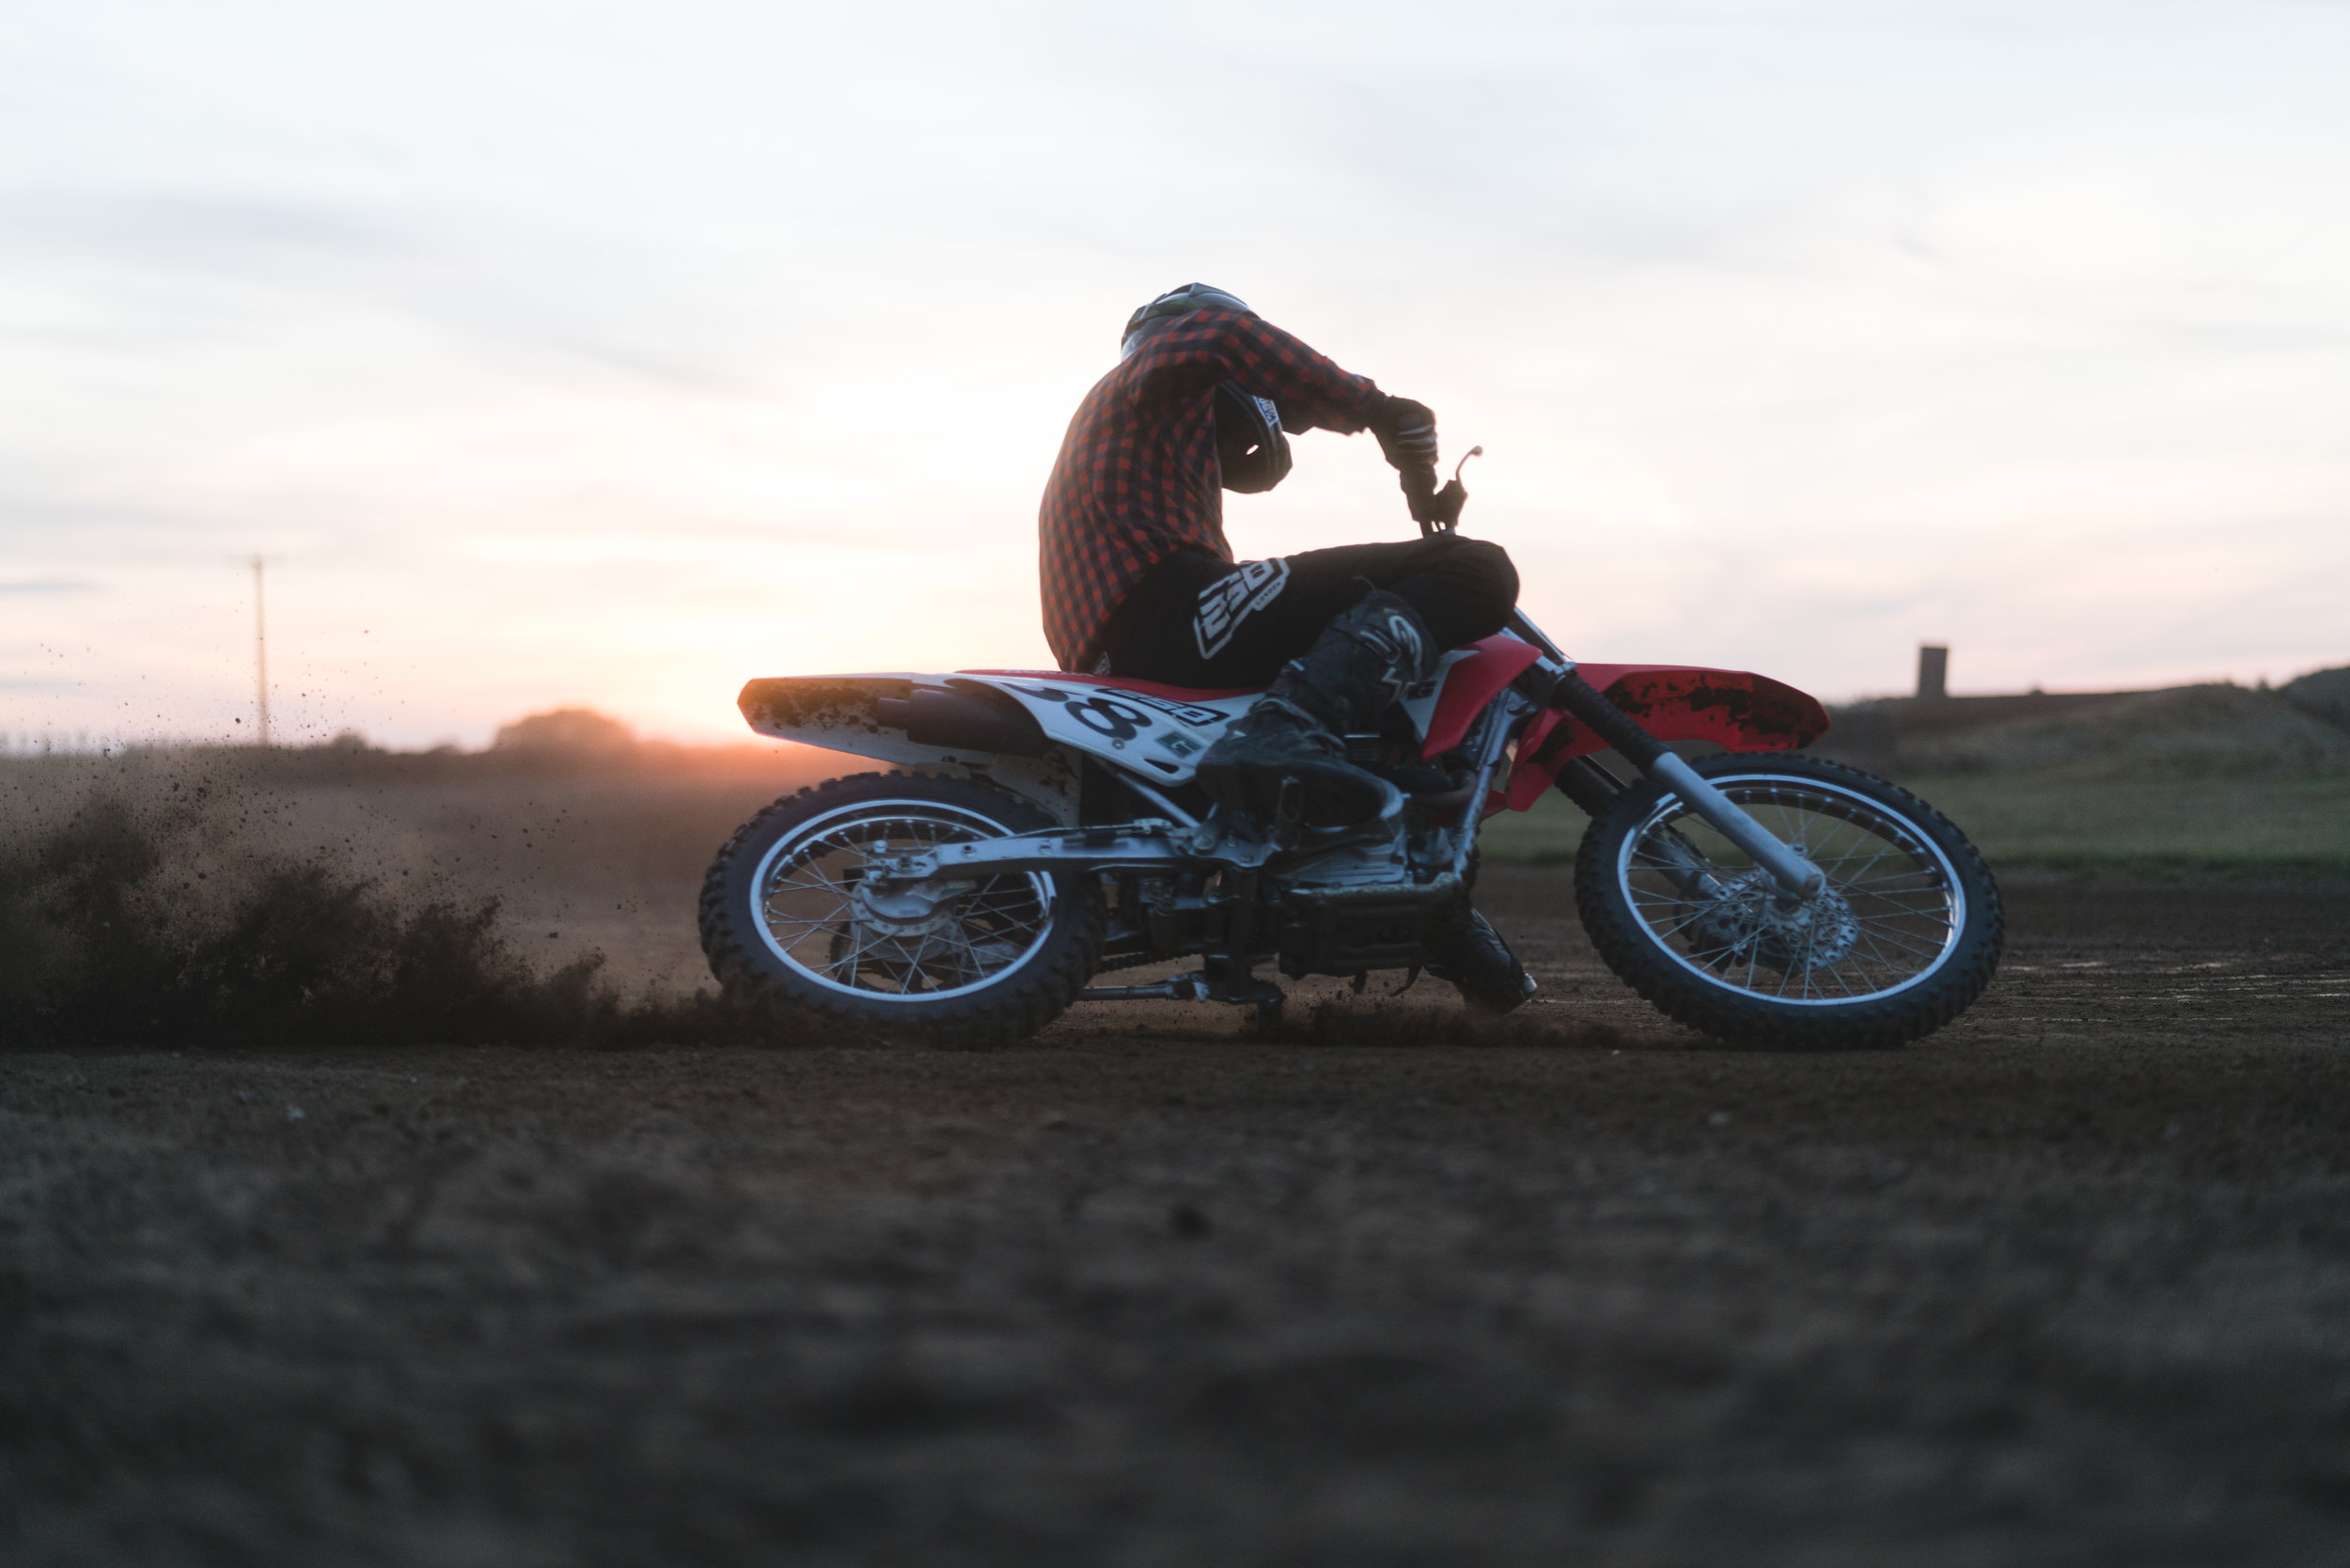
___________________________

TYRES


TOOLS: A good quality pressure gauge

I know its a no brainier but checking your tyre pressure is something that you should always remember to do. Its a pretty vital part of your bikes handling as under inflated tyres massively affect handling & braking. You can also overinflate them (this can result in a lack of grip when braking) so its worth getting a good quality pressure gauge to get it right. This is when your manual comes in handy as it'll tell you correct pressure for your bike & in which circumstance e.g. you may need more pressure if you're regularly carrying a passenger or heavy stuff. Try to check it once a week & also before any long trips. It's also worth checking the condition and tread depth of the tyres while you're at it.

TIP: Always check your pressures when they're cold!


IMAGE BY HEIDI ZUMBRUN

IMAGE BY HEIDI ZUMBRUN

___________________________

CHAIN


TOOLS: A torque wrench

Incorrect chain tension can result in sprocket and gearbox wear, unsmooth gearshifts, snatchy transmission, hamper your bike's rear suspension travel and reduce the life of your bike's chain so its pretty important to check this regularly.

Check your manual for how to adjust your bike's chain to the correct tension. Remember to set the tension with some load on the bike (something heavy or with someone on it) as the chain will tighten up once a you have a passenger on board.  Your manual will also tell you the correct torque settings for each bolt - how much force to use when retightening each bolt. This is when you'll need your torque wrench to do this properly. 

TIP: Its a good idea to also lubricate the chain while you're at it, as this will help it last longer! Its also a good time to check the condition of your back sprocket for teeth missing or wear & tear. These can be easily replaced & you can find replacement parts pretty easily at places like WEMOTO

IMAGE BY DAMIAN PAJAK

IMAGE BY DAMIAN PAJAK


___________________________

BATTERY


TOOLS/ SUPPLIES:  Manual & battery acid (if needed)

If a battery is allowed to run dry or drop into a deep state of discharge then usually it kills it, so you should try check it out regularly to see what state its in.

Ideally, remove the battery from its holder before carrying out any work. Remember,  batteries contain strong acid, which can be harmful if it comes into contact with your skin so wear gloves & watch out where you get it.

Check the acid level in your battery by placing it on a level surface. If the level's low then top up with de-ionised water before placing the battery on charge, using a car or motorcycle charger. Remember not to overfill, as acid will drain out the overflow pipe when you're on the move. Many moden batteries are sealed, so you won't be able to top them up, meaning you'll have to buy a new one. Again WEMOTO is a great site to grab one from or if you're going custom a fancy lithium racing battery can take up half the space & fit nicely under the seat but you'll need to fabricate a new holder or battery box for this probably. 

TIP: Greasing your bike's battery terminals before placing the battery back in the bike will help avoid corrosion build up. Just remember not to touch both terminals at the same time or else ZAP!

IMAGE: HEIDI ZUMBRUN

IMAGE: HEIDI ZUMBRUN


___________________________

COOLANT


Checking you coolant only takes a few minutes to do but again its a pretty vital bit of maintenance. Not all bikes are liquid cooled. Some are also air-cooled (see here for a good guide on the differences)

First of all check out your manual to locate your bike's 'expansion' tank (if it has one); high and low levels should be marked on the outside of the translucent tank. Alternatively, remove the radiator filler cap to check the level. Only do this when the water is cold. And while your at it, think about changing the coolant altogether. Another easy job that takes about 30 minutes. Here's how it's done:

- When the radiator's stone cold, remove the cap the bottom rubber hose, allowing the old coolant to drain into a bucket. You may need to undo a drain plug situated near the water pump to extract all the liquid. Check your owner's manual for how to do it.

- Once the system's drained, reattach the bottom hose and replace the drain plug before making up a new batch of coolant using a 50/50 mix of anti-freeze and de-ionised water.

- Fill to the correct level ensuring no air is trapped in the system. This can be alleviated by squeezing the radiator hoses to expel unwanted air. Check the level again after your first test ride.

IMAGE: BROTHER MOTO

IMAGE: BROTHER MOTO


___________________________

OIL


Changing your bikes oil is all part & parcel of keeping it in good knick. Some bikes need it changing more often than others (dirt bikes need oil changes every few hours of riding time where as road bikes need it alot less) all you need are the right tools, decent oil and the correct filter.

Check your workshop manual for a detailed explanation of how to do this very specifically on your bike. Also consider asking a mate to oversee progress from start to finish.

TIP: Always check your oil levels when the engine is warmed. Go for a quick spin then let the bike sit for about 15mins before checking. Also, always make sure your bike is upright (on the centre stand if you have one, or held up by someone else) to make sure you're reading the levels right.

If you're a bit low & need a change or top up: Get engine warmed through, remove the bike's oil filler cap, place a tray under the bike and remove the sump plug. Make sure you're 100 sure you're removing the right bolt; it should be the biggest one on the sump, usually on the bottom or on the side.

- Once the oil's drained, remove the filter, either by hand or using a filter removal wrench. 

- Replace the sump plug, tighten to the correct torque setting as recommended in the owner's manual before spinning on a new filter. Smear the rubber filter gasket in clean oil before tightening by hand. Nip it up half a turn with the filter wrench. 

- Refill the engine with the correct amount of new oil. Start the bike up, check for leaks, stop the engine Give it five minutes for the oil to drain back into the sump before checking the level again. Add oil if necessary.

___________________________

sparks.jpeg

SPARK PLUGS


TOOLS:  Socket wrench with a spark plug extension

Unlike some of the other jobs changing your bike's spark plugs isn't a job that usually needs doing regularly but its a good check to do to avoid any breakdowns ( especially if you have a 50 year old shitty triumph chop like me) as a result of blackened or dirty plugs, making it difficult to start the bike. You can consult your manual for how often in should be done.

On most small or old bikes checking or changing the spark plugs should take you only a few minutes. Firstly make sure you have the correct plugs for your bike; the code number on each one will differ from manufacturer to manufacturer. Check the owner's manual for the correct gap; you'll need feeler gauges to set it correctly.

TIP: Remove the plugs one at a time to avoid mixing up the HT leads & try not to over tighten them! Best way to do this is to screw them in by hand and nip them up a quarter-turn with a plug wrench to finish up.

IMAGE: DAMIAN PAJAK

IMAGE: DAMIAN PAJAK


___________________________

BRAKES.... PADS OR DRUMS


TOOLS: Good spanners, sockets or Allen keys of the correct size to fit the caliper retaining bolts; some brake cleaner spray; a rag or old toothbrush; a large flat-headed screwdriver, copper grease, a torque wrench, a pair of pliers and brake fluid (of the right grade).

Firstly, does your bike have drum brakes (common on older bikes) or disc brakes??  Click here for a good guide to the difference between drum brakes & disc brakes.

 If you're bike has disc brakes a good way to check them is: 

  • Start by checking the brake pedal and hand control brake.  You want to make sure they’re firm and not soft or spongy.

  • Visually inspect both the front and rear brakes looking for wear on your brake pads.

  • Make sure there is at least 3mm of pad left.  If the pads wear down less than this, you’ll get metal-on-metal grinding between the brake and the rotor. 

Checking & replacing your bike's brake pads sounds fairly intensive but is actually a pretty straightforward job although first time I'd ask someone experienced to give you a hand.

There are so many great video guides on you tube for this that its kind of pointless for me to put it into words but basically you'll need to remove the caliper from the fork leg, take out the retaining clips, followed by then pins and springs. The pads should then come out with ease. 

TIP: Use an aerosol brake cleaner to smarten up the job when you're finished and remove any unwanted grease as this is very dangerous around disc brakes.

__________________________________________________________________________

Don’t know where to find replacement parts for your bikes

Here are some good UK based websites for stock replacement bits for a wide range of bikes :


WEMOTO

MOTORCYCLE PRODUCTS

M & P

PATTERN PARTS

HAPPY WRENCHING PEOPLE!

DIRT CAMP 2018 @ GREENFIELD DIRT TRACK

IMAGE: TOM BING

IMAGE: TOM BING

We came, we saw, we rode dirt with some of the UKs best dirt track riders & racers, learned a few MX skills, jumped dirt jumps, camped out , hung out around a bonfire, met old friends & met a few new ones as well, all at the amazing Greenfield Dirt Track facility in Lincolnshire...... This was DIRT CAMP 2018!

Started in 2015 by The Dirt Track Rider Association as an initiative to get more women into flat track & ultimately racing in the DTRA series, DIRT CAMP has now grown into a weekend full of everything from complete learners jumping on a bike for the first time, advice & lessons from some of the UKs leading flat track racers (including the Incredible Leah Tokelove) about how to go fast & turn left, MX skills & enduro riding.

IMAGE: TOM BING

IMAGE: TOM BING


A massive thanks to all the people who work hard to make this event a real highlight of the summer! From the ,DTRA, Greenfield Dirt track (and all who run this incredible grass roots facility), Leah Tokelove & all the instructors who donate their time & bikes to the cause,  and of course the amazing ladies who came along & got dirty with us! 

LONG LIVE DIRT CAMP!

All photos by  TOM BING

IMAGE: TOM BING

IMAGE: TOM BING

 
IMAGE : TOM BING

IMAGE : TOM BING


And this is how the pros do it.....

For more images of the event & for info on how to get into flat track go to the DTRA Facebook page & Greenfield Dirt Track & shoot them a follow 

VC X VICE - The Motorcycle Collective Getting Hundreds of Women Into Extreme Sports

P// TOM BING

P// TOM BING

A massive thanks to VICE for coming along to our Dirt Camp event in collaboration with the DTRA and Greenfield Dirt Track and getting dirty with us!


VC LONDON - The Motorcycle Collective Getting Hundreds of Women Into Extreme Sports - By Giulia Aliverti

VC London is an all-women motorbike collective founded by designers Gemma Harrison, Maite Storni and Namin Cho. Fuelled by their passion for motorbikes and a desire to encourage women to start riding, the three friends originally set out in 2015 to document their adventures on social media, while offering free riding lessons for beginners in an abandoned car park in east London. 

Since then, VC has introduced over 200 women to motorcycling, with the overall aim of "creating a judgment and jealousy-free positive space for women to come and try something new". The founders hope that, through the collective, their riders will not only be able to hold their own on any race track, but will also have the confidence to step into any male-dominated space.

p// TOM BING

p// TOM BING

Despite the inevitable complaints by men on social media that women-only spaces are sexist – including one guy who threatened to sue them – VC has expanded over the past three years to include regular talks and panels with professional extreme sportswomen, skateboarding and surfing lessons, a weekend camping festival, an apparel line and collaborations with brands like Red Bull and Vans.

To read the rest of the article at VICE.com click HERE

p// TOM BING

p// TOM BING

HAPPY INTERNATIONAL WOMENS DAY!!

We’re honoured to be able to have met & be surrounded by so many incredible women, from all walks of life & all backgrounds from all different corners of the world through what we do at VC. So what better way to mark International women’s day than with these amazing images by Caylee Hankins  from our CAMP VC event of some of the inspiring women that make what we do worthwhile.

mideel .jpg

A huge thanks to every incredible woman that has attended one of our events, listened to one of our team talks or come to ride with us. Keep on keeping on ladies  💪

All images by Caylee Hankins // @alittlepickmeup

SKATE GIRLS

Got some time to kill? Check out these rad vids directed by The Berrics - Skate Girls on Urban Outfitters TV 💘

“In the end, you just gotta do what makes you happy.”